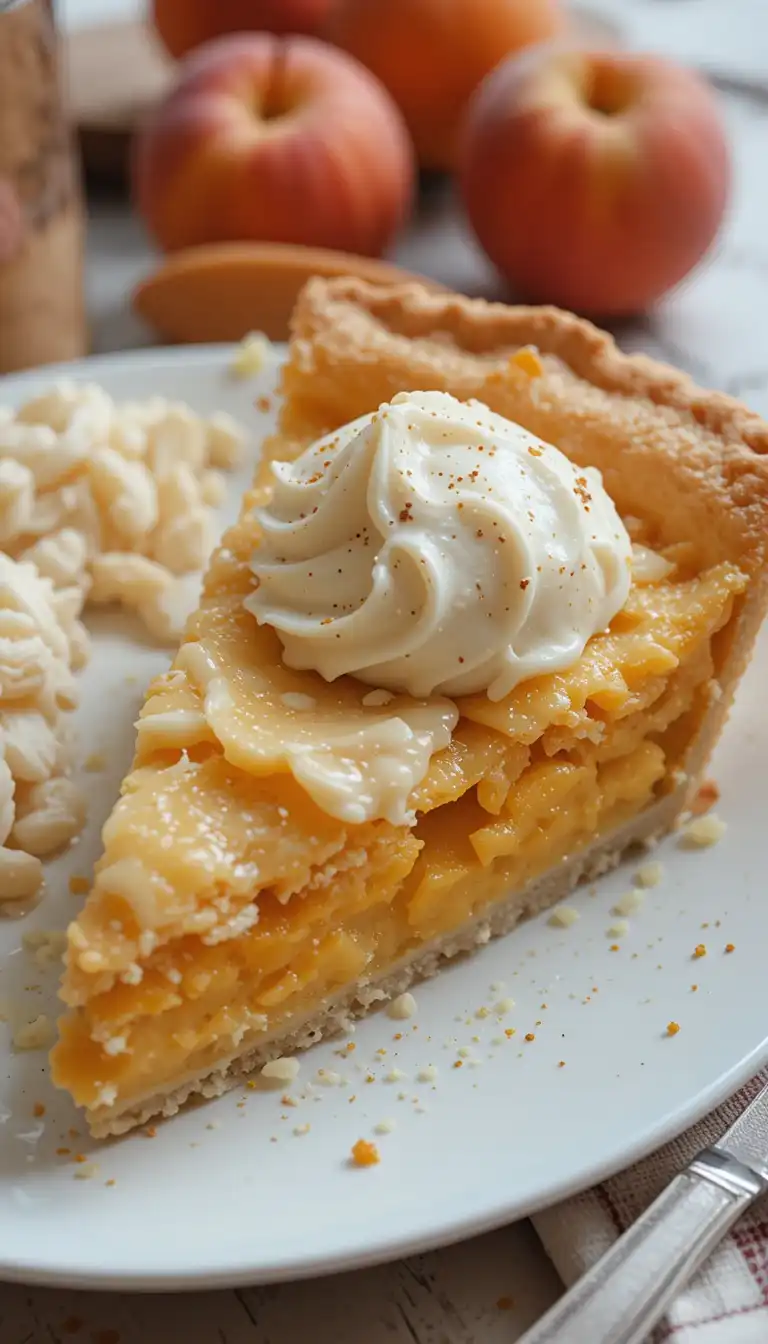
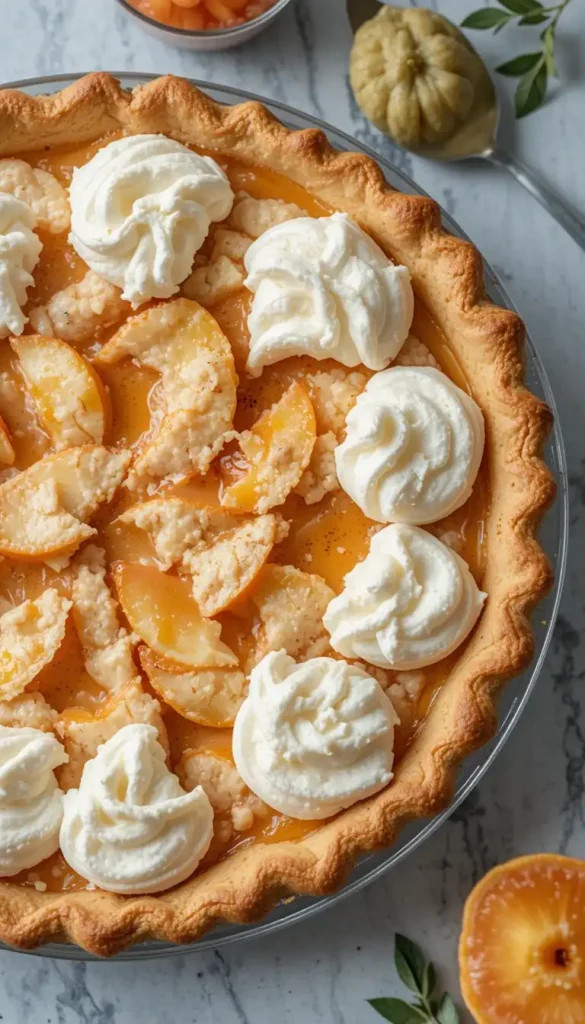
The aroma of pie is so magical when it fills the kitchen space with a juicy peach and a buttery and flaky crust. This canned peach pie recipe will surely be perfect for those who want to taste summer at any time of the year when you don’t want to peel fruits, slice them, and check on their seasonal availability while savoring that fresh fruity flavor.
You may also want to have a dessert for a dinner party or maybe during the weekend or a taste of homemade comfort, and this is quick, easy, and delicious. Maximum pleasure with minimum time for preparing would be this recipe. It can be very quick to put together; it’s really that good. You would want to impress your guests, but you owe it to yourself as well.
Right from understanding the right peaches to working on the crust, to getting just the right amounts of spices, this guide will teach you everything you need to know about the ultimate canned peach pie recipe.
What Makes This Canned Peach Pie Recipe Special?
Most people think that you can only use fresh peaches for making the best peach pies, but a canned version of the pie shows that this is not necessarily true. Canned peaches are picked at peak ripeness and preserved so that they will retain their inherent sweetness and soft texture. Then, as these canned fruits can be accessed year-round, it becomes possible to enjoy peach pies in the middle of winter without having to pay the high price for fresh fruits.
Following this recipe, both beginners and experienced bakers will have no difficulty: the steps are straightforward, and it is consistently delicious. You can make an apple pie ready for oven use in just under 15 minutes because using canned peaches cuts your prep work in half.
Canned peaches can also be adjusted: you may change the spices creating a warmer taste, modify sweetness according to your taste, or even add a splash of vanilla or almond extract for depth. This is what makes up convenience and homemade charm, which is quite an apple of its own eye.
Ingredients You’ll Need
- 2 cans (15–16 oz each) sliced peaches – Use peaches packed in juice or light syrup for the best flavor balance. Drain well to prevent a soggy crust, but reserve 1–2 tablespoons of the liquid to boost the filling’s flavor.
- ¾ cup granulated sugar – Adjust based on the sweetness of your canned peaches. If using peaches in heavy syrup, reduce the sugar to about ½ cup.
- 2 tablespoons cornstarch – This thickens the peach juices during baking, giving you a sliceable pie instead of a runny one.
- 1 teaspoon ground cinnamon – A classic spice that pairs beautifully with peaches and adds a warm, aromatic touch.
- ¼ teaspoon ground nutmeg – Optional, but just a pinch deepens the flavor profile.
- 1 tablespoon lemon juice – Brightens the taste and balances out the natural sweetness of the peaches.
- 2 tablespoons unsalted butter – Cut into small cubes and dotted over the filling for extra richness and a glossy finish.
- 1 package refrigerated pie crusts – Convenient and time-saving. For a more homemade touch, use your favorite butter-based crust recipe.
- 1 egg – Beaten and brushed over the top crust to create a golden, glossy finish.
- 1 tablespoon coarse sugar – Optional, but sprinkling this over the crust before baking adds sparkle and crunch.
Step-by-Step Instructions
- Preheat the oven – Set your oven to 375°F (190°C) so it’s ready by the time your pie is assembled.
- Drain and prep the peaches – Empty the two cans of sliced peaches into a colander, letting the liquid drain. Reserve 1–2 tablespoons of the juice for extra flavor in the filling. If using peach halves, slice them into smaller pieces.
- Mix the filling – In a large mixing bowl, combine the drained peaches, ¾ cup sugar, 2 tablespoons cornstarch, 1 teaspoon cinnamon, ¼ teaspoon nutmeg, and 1 tablespoon lemon juice. Gently stir until the peaches are evenly coated without breaking them apart too much.
- Prepare the pie crust – Place one crust into a 9-inch pie pan, pressing it gently into the bottom and sides. Trim any excess dough that hangs over the edge.
- Add the filling – Spoon the peach mixture into the crust, spreading it evenly. Dot the top of the filling with 2 tablespoons butter, cut into small cubes.
- Top and seal – Place the second crust over the filling. You can keep it whole with slits cut for steam release, or make a lattice design for a decorative touch. Press and crimp the edges to seal.
- Egg wash & sugar sprinkle – Brush the top crust with the beaten egg for a golden finish. Sprinkle with 1 tablespoon coarse sugar for extra crunch and sparkle.
- Bake the pie – Place the pie in the preheated oven and bake for 45–50 minutes, or until the crust is golden brown and the filling is bubbling through the vents.
- Cool before serving – Allow the pie to cool for at least 2 hours before slicing. This helps the filling set and makes serving cleaner and easier.
Equipment Needed
- Cooling Rack: Allows the pie to cool evenly after baking, helping the filling firm up before slicing.
- Mixing Bowl: Used to combine the canned peaches with sugar, spices, and thickening agents evenly.
- Measuring Cups and Spoons: Essential for accurate measurement of ingredients to achieve the perfect balance of sweetness and flavor.
- Colander or Strainer: Helps drain excess syrup or juice from the canned peaches to prevent a soggy pie filling.
- 9-inch Pie Dish: Provides the ideal size and shape for baking the peach pie evenly.
- Rolling Pin: Used to roll out the pie crust smoothly and evenly for the base and top crust.
- Pastry Cutter or Knife: Useful for cutting butter into small pieces and trimming excess dough.
- Spatula or Wooden Spoon: Helps gently mix the filling without breaking the peach slices.
- Oven: Required for baking the pie until the crust is golden and the filling is set.
Tips for the Best Canned Peach Pie Recipe
- Taste before baking – Since canned peaches vary in sweetness, taste your filling before adding all the sugar. Adjust as needed so it’s not overly sweet.
- Choose the right syrup – Peaches in light syrup or juice give the best flavor balance. Heavy syrup can make the pie too sweet unless you cut back on added sugar.
- Chill the crust – Whether store-bought or homemade, keep your pie dough cold before baking. This helps prevent shrinking and keeps it extra flaky.
- Prevent a soggy bottom – Use a glass pie dish if possible so you can see when the bottom crust is fully baked. You can also preheat a baking sheet in the oven and place your pie on top to boost bottom heat.
- Add a citrus boost – A teaspoon of lemon juice brightens the flavor and balances the peaches’ sweetness.
- Protect the edges – If the crust edges brown too quickly, cover them with strips of foil halfway through baking.
- Enhance the flavor – Add a splash of vanilla or almond extract to the filling for extra aroma and depth.
- Let it cool completely – Cooling for at least 2 hours helps the filling set, giving you clean slices without the filling running out.
Variations You Can Try
- Mixed-Fruit Peach Pie – Replace 1 cup of peaches with blueberries, raspberries, or blackberries for a colorful, tangy twist. The berries add a pop of flavor and pair beautifully with peaches.
- Peach Crumble Pie – Skip the top crust and use a buttery oat crumble instead. Mix oats, flour, brown sugar, and butter for a crunchy topping that contrasts the soft filling.
- Mini Hand Pies – Use the same filling but wrap it in small pastry circles to make handheld treats. Perfect for picnics or portion control.
- Spiced Winter Peach Pie – Add ¼ teaspoon each of ground ginger, allspice, and cloves for a warm, holiday-inspired flavor.
- Peach & Cream Pie – Mix ¼ cup heavy cream into the peach filling for a richer, creamier texture. This works especially well with a lattice crust.
- Gluten-Free Version – Use a gluten-free pie crust (store-bought or homemade) while keeping the filling exactly the same.
- Peach Cobbler Twist – Pour the peach filling into a baking dish and top with biscuit dough or cake batter for an easy cobbler alternative.
Serving Suggestions
- Classic with Ice Cream – Serve warm slices with a scoop of vanilla ice cream. The contrast between the hot pie and cold, creamy ice cream is a timeless favorite.
- With Whipped Cream – Top each slice with freshly whipped cream, lightly sweetened and flavored with vanilla or a pinch of cinnamon for extra warmth.
- Brunch Delight – Pair a slice with fresh berries and a cup of coffee for a sweet addition to a weekend brunch spread.
- Caramel Drizzle – Add a rich touch by drizzling warm caramel sauce over each slice before serving. Perfect for fall and winter gatherings.
- Cheese Pairing – Try serving with a slice of mild cheddar cheese on the side for a classic, old-fashioned combination that balances sweet and savory.
- Holiday Presentation – Garnish with a dusting of powdered sugar and a sprig of mint for a festive, picture-perfect dessert during the holidays.
Storage & Reheating
- Room Temperature: If you plan to eat the pie within 1 day, you can store it covered at room temperature.
- Refrigeration: For longer storage (up to 4–5 days), wrap the pie tightly with plastic wrap or foil and refrigerate.
- Freezing (Whole Pie): Allow the pie to cool completely, then wrap in plastic wrap followed by foil. Freeze for up to 3 months.
- Freezing (Slices): Wrap each slice individually for quick single-serve thawing.
- Reheating (Oven): Preheat oven to 350°F (175°C), place the pie or slice on a baking sheet, and warm for 10–15 minutes until heated through.
- Reheating (Microwave): Heat a slice for 20–30 seconds for a quick warm-up, but note the crust may lose crispness.
- Tip for Crisp Crust: To keep the crust flaky, reheat in the oven instead of the microwave whenever possible.
FAQs
1. Can I use fresh peaches instead of canned peaches for this recipe?
Yes, you can absolutely use fresh peaches in place of canned ones. Fresh peaches provide a naturally sweet, slightly tangy flavor that can enhance the taste of your pie. If you choose fresh peaches, peel and slice them, then adjust the sugar content in your recipe since fresh peaches may vary in sweetness. Also, canned peaches usually come in syrup, so you might need to add a bit of extra liquid or cornstarch when using fresh peaches to achieve the same thick and juicy filling texture.
2. Do I need to drain the canned peaches before using them?
Yes, draining is important, especially if your canned peaches are stored in heavy syrup. Using the liquid directly can make your pie overly sweet and runny. However, you can reserve a few tablespoons of the syrup and mix it with cornstarch to help thicken the filling. This way, you can maintain the peach flavor without compromising the texture of the pie.
3. Can I make a canned peach pie Recipe in advance?
Yes, you can prepare your canned peach pie ahead of time in two ways. First, you can assemble the unbaked pie, cover it tightly, and refrigerate it for up to 24 hours before baking. Second, you can bake the pie fully, let it cool, and store it at room temperature for up to a day or in the refrigerator for up to four days. This make-ahead approach is perfect if you’re planning for a gathering and want to save time on the event day.
4. How can I prevent my peach pie from being runny?
The most common cause of a runny peach pie is excess liquid from the filling. To avoid this, make sure you drain canned peaches well and toss them with cornstarch (or flour) before adding them to the crust. Cornstarch works as a thickening agent during baking, helping the filling set properly. Also, letting the pie cool completely before slicing allows the filling to firm up, resulting in cleaner slices.
5. Can I freeze a canned peach pie?
Yes, you can freeze both baked and unbaked canned peach pies. If freezing an unbaked pie, assemble it in a freezer-safe pie dish, wrap it tightly in plastic wrap and foil, and store it for up to three months. When ready to bake, add about 15–20 extra minutes to the baking time without thawing. For a baked pie, let it cool completely, wrap it securely, and freeze for up to three months. Thaw overnight in the fridge and reheat in the oven before serving.
Final Thoughts
A canned peach pie recipe is the perfect balance of convenience and homemade charm. Using canned peaches saves time without compromising on flavor, making it an excellent choice for busy weeknights, last-minute gatherings, or when fresh peaches aren’t in season. The natural sweetness and soft texture of canned peaches pair beautifully with a buttery, flaky crust, creating a dessert that feels like a warm hug in every bite.
Whether you serve it with a scoop of vanilla ice cream, a dollop of whipped cream, or simply on its own, this pie is sure to become a family favorite. Plus, the recipe is easily customizable—you can add spices like cinnamon or nutmeg, drizzle caramel over the top, or even mix in berries for a twist.
In short, this canned peach pie is proof that delicious desserts don’t have to be complicated. With just a few ingredients and some love, you can have a show-stopping dessert ready to impress.
Explore More Dessert Recipes
https://dailytastebites.com/no-bake-key-lime-pie-recipe/
https://dailytastebites.com/german-chocolate-poke-cake-recipe/
https://dailytastebites.com/easy-pistachio-pineapple-cake/
https://dailytastebites.com/chocolate-chip-coffee-cake-recipe/
https://dailytastebites.com/healthy-oatmeal-chocolate-chip-bars/
Print
Canned Peach Pie Recipe
- Prep Time: 15 minutes
- Rest Tiime: 2 hour
- Cook Time: 1 hour
- Total Time: 3 hours 15 minutes
- Yield: 8 servings
- Category: Dessert
- Method: Baking
- Cuisine: American
- Diet: Vegan
Description
This easy canned peach pie recipe is perfect for any occasion. Juicy canned peaches are combined with warm spices and thickened filling, all baked inside a flaky, buttery crust. Ready in under an hour, it’s a quick and delicious homemade dessert that everyone will love!
Ingredients
Instructions
- Preheat the oven to 375°F (190°C).
- Drain the canned peaches well, reserving 1–2 tablespoons of the juice. Slice peaches if needed.
- In a large bowl, combine peaches, sugar, cornstarch, cinnamon, nutmeg (if using), and lemon juice. Gently mix to coat evenly without mashing the peaches.
- Roll out one pie crust and place it in a 9-inch pie pan, pressing gently to fit. Trim excess dough.
- Pour the peach filling into the crust, spreading it evenly. Dot the filling with butter cubes.
- Cover with the second pie crust—either a full crust with slits or a lattice top. Trim and crimp edges to seal.
- Brush the top crust with beaten egg, then sprinkle with coarse sugar if desired.
- Bake for 45–50 minutes, or until the crust is golden brown and the filling is bubbling. Cover crust edges with foil halfway through baking if they brown too quickly.
- Let the pie cool for at least 2 hours before slicing to allow the filling to set.
Notes
- Adjust sweetness based on the syrup type in your canned peaches—reduce sugar if using peaches in heavy syrup.
- Don’t skip draining the peaches well to avoid a watery pie filling.
- For a flakier crust, keep your pie dough chilled until just before baking.
- Cover crust edges with foil halfway through baking to prevent over-browning.
- Let the pie cool completely before slicing to ensure clean, firm slices.
- Add spices like ginger or allspice for a warm twist.
- Use fresh peaches in season if you prefer, but adjust sugar and thickener as needed.
Nutrition
- Serving Size: 1 serving
- Calories: 320kcal
- Sugar: 28g
- Sodium: 210mg
- Fat: 14g
- Saturated Fat: 7g
- Carbohydrates: 42g
- Fiber: 2g
- Protein: 3g
- Cholesterol: 40mg